
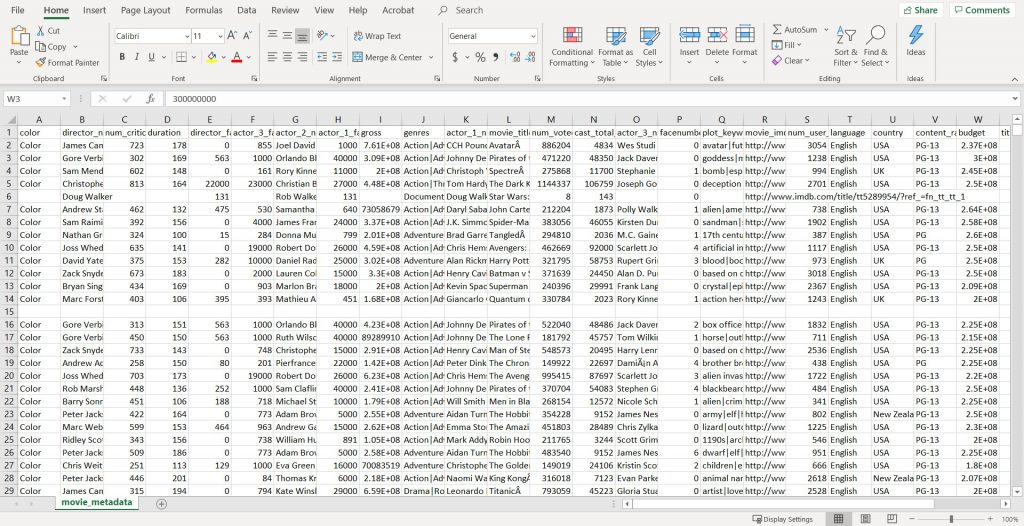
One of the most annoying things to come across is a data set that is filled with blank rows. Excel is able to organize your data into nice easy-to read rows, but just a few blanks can mess up the whole entire system. Of course it’s possible to go one-by-one and delete each of these rows manually, but why make your life harder than it needs to be?
Today I’m going to explain two different ways to easily remove these nuisances from your datasets. The first way is the most common non-manual strategy and the second method is the most effective.
The Easy Method for Removing Blank Rows
In many cases a data set is going to be much too large for it to be viable to go one-by-one and remove each blank row manually. I’m sure you would prefer to avoid scrolling through hundreds of rows, right-clicking, and then deleting each and every blank. A much faster method is using “find & select” function within excel to simplify the process.
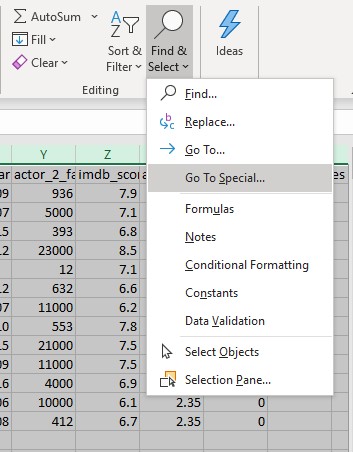
To start, you need to select your entire data set and then navigate to the “Home” toolbar at the top of your screen. From there select the “find & select” and then “Go to Special”.
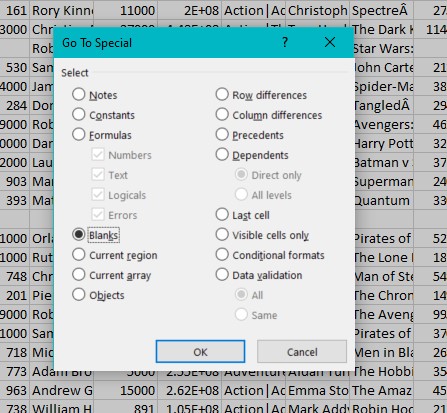
From here, you will see various options for what you can search by. In some instances it may be beneficial to “Sort by Formulas” for example.
Once you click okay all cells containing a blank will now be highlighted. From here you can quickly and easily select “Delete” and then “”Delete Sheet Rows”. Doing this will delete entire rows. The only issue that can arise with this is that it has one large flaw. Using this method will lead to any row with even one blank to be deleted. This can be problematic for most data sets because not every column is going to have a value. In many situations this can lead to numerous rows of data being destroyed unintentionally. Next I will show a better method that avoids this.
The Better Method for Removing Blank Rows
Now I’m going to explain the better method. By utilizing this method you are able to avoid unintentionally removing rows from your data set. Unlike the previous method, we will start by inserting two new columns in front of your existing data.
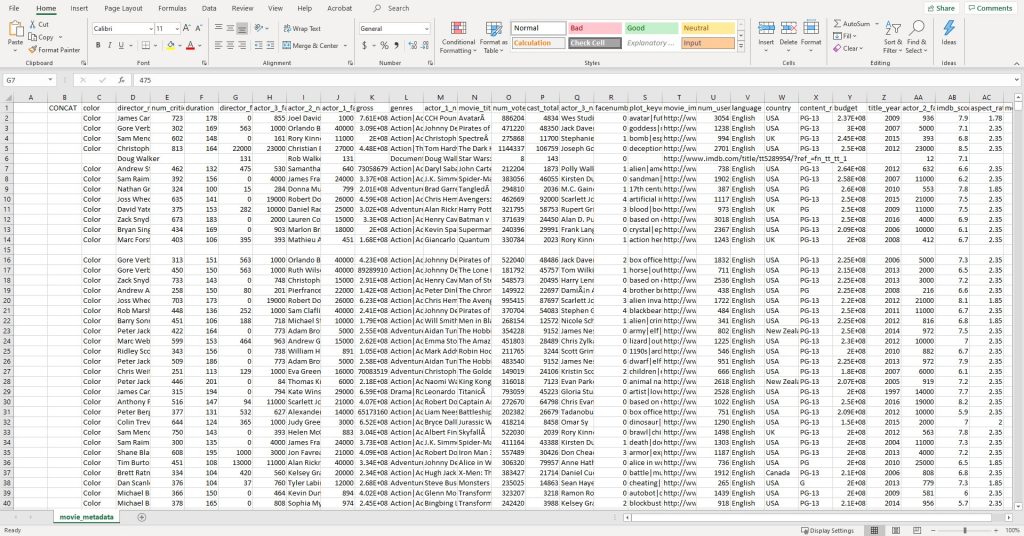
One column is going to be used to concatenate our data into a single column. Concatenating is simply “combining” or “joining” the data together into one cell. This is to make it easier to determine whether or not a row is blank.
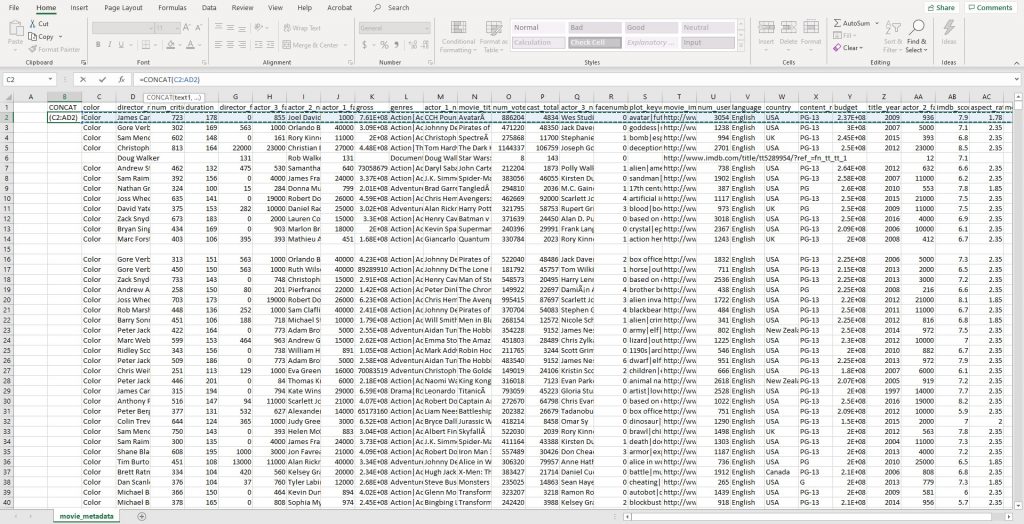
In the empty cell you are going to input the function “=CONCAT (x:y)”. In this formula, the x represents the first column and y represents the last column in the range of columns that your data is stored in. From there you can hit enter and you will see that your CONCAT column will now have a cell containing your joined data for that row. In order to apply this to all of your rows, you will want to highlight the rest of the cells within the CONCAT column and select fill down, from your top menu.
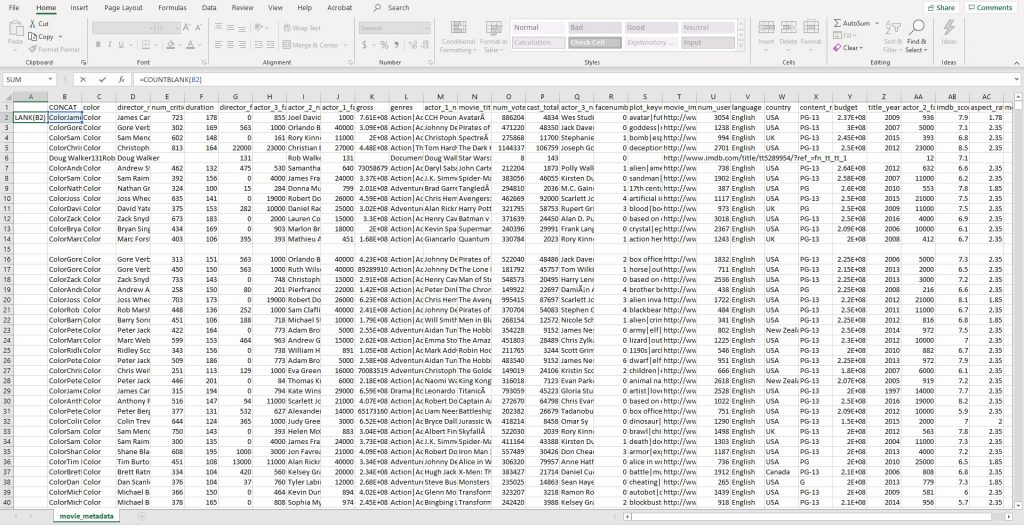
Now we are going to utilize the second column that we have created. This column is going to become our “is it blank” column. In order to do this we are going to utilize the COUNTBLANK function in Excel. So in order to do this, we will put “=COUNTBLANK(x)” where “x” represents your CONCAT column. Once you hit enter you will either see a 0 or 1, 0 meaning not blank and 1 meaning this row is blank.
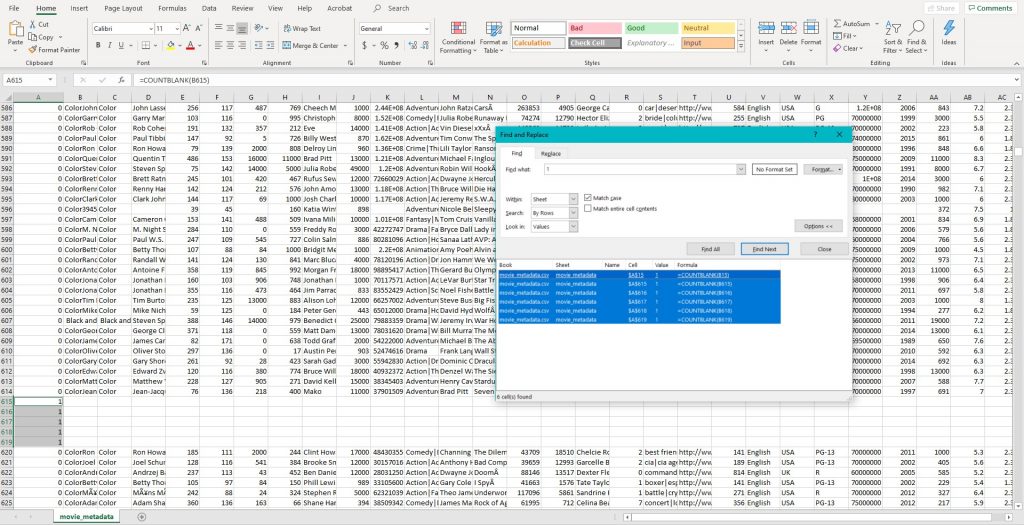
Now we are able to go about easily to see the blank rows that we have discovered. To do this, you are going to click “Find and Select” from the top menu and then “Replace”. From here, you are going to search for all the rows that have a 1 in the COUNTBLANK column. In the “Find what” field you will type “1”. Then select “Match entire cell contents” and “Look in: Values”. Lastly you will click “Find All”. Once this is done you will see a list appear in the find and replace window with the rows highlighted.
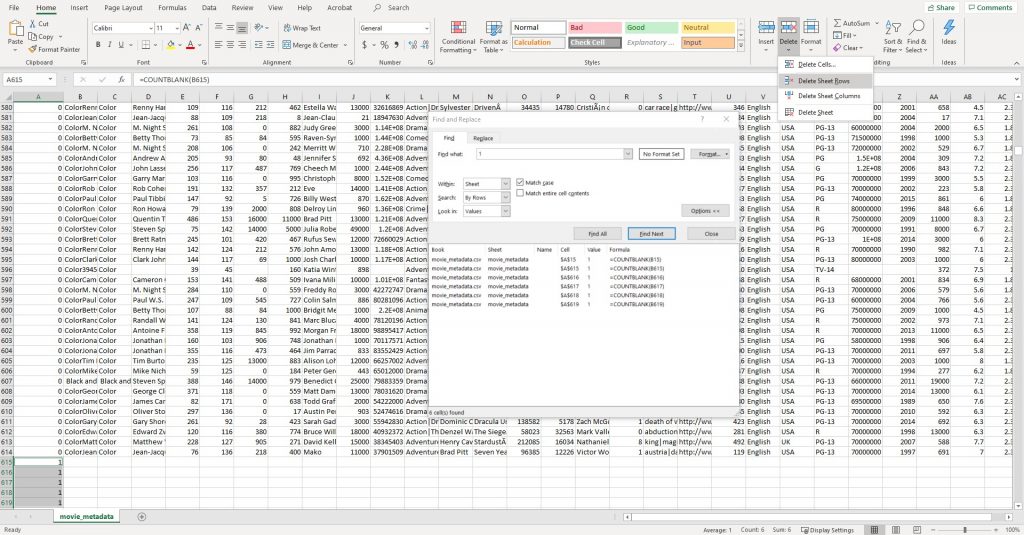
Now you can simply select “Delete” from the top toolbar and then “Delete Sheet Rows”. Once that is done you will see that your data set no longer contains any blank rows. After that you can simply delete the two columns we had created.
In conclusion, yes it may be faster to simply use the first method of finding any cells that contain a blank and deleting them. But in the long run this method can lead to unintentional headaches and as a result the second method of utilizing concatenation is much more efficient.