What makes WordPress So Popular?
Let’s explore the key factors behind WordPress’s immense popularity.
Ease of Use
WordPress features a simple, intuitive dashboard that doesn’t require knowledge of web programming languages like PHP, HTML5, or CSS3. You can create a website with just a few clicks. The platform also provides free templates, widgets, and plugins to help you start your blog or website quickly.
Cost-Effectiveness
WordPress saves you from paying hefty fees to developers. You can use free themes or purchase one and install it yourself. Once installed, you can add and customize features without much coding. Additionally, it takes less time to design a site compared to coding it from scratch.
Responsive Design
WordPress is inherently responsive, ensuring your site looks good on any device. This feature also helps improve your site’s ranking on Google.
SEO-Friendly
WordPress is built with clean, consistent code that makes it easy for search engines like Google to index your site, improving your ranking. You can further enhance SEO using plugins like Yoast.
Easy Installation and Upgrades
Installing WordPress on Ubuntu or other operating systems is straightforward. Many hosting companies offer one-click installation features, and numerous open-source scripts can automate the process.
Installing WordPress on Ubuntu
Before starting, update and upgrade your system. Log in as the root user and run:
apt update && apt upgradeIf you don’t have MySQL, Apache, or PHP installed, do so now.
Step 4: Create a WordPress Database
Log in to MySQL as root:
mysql -u root -pCreate a database for WordPress:
CREATE DATABASE wordpress_db;Create a database user:
CREATE USER 'wp_user'@'localhost' IDENTIFIED BY 'password';Grant privileges to the user:
GRANT ALL ON wordpress_db.* TO 'wp_user'@'localhost';Apply the changes:
FLUSH PRIVILEGES;Step 5: Install WordPress CMS
Navigate to the temp directory and download the latest WordPress file:
cd /tmp && wget https://wordpress.org/latest.tar.gzDecompress the file:
tar -xvf latest.tar.gzCopy the WordPress folder to the web directory:
cp -R wordpress /var/www/html/Change ownership of the WordPress directory:
sudo chown -R www-data:www-data /var/www/html/wordpress/Change file permissions:
sudo chmod -R 755 /var/www/html/wordpress/Create an ‘uploads’ directory:
mkdir /var/www/html/wordpress/wp-content/uploadsChange ownership of the ‘uploads’ directory:
sudo chown -R www-data:www-data /var/www/html/wordpress/wp-content/uploads/Step 6: Configure WordPress
- Open your browser and go to the server’s URL (e.g.,
https://server-ip/wordpress). - Follow the WordPress wizard to set it up, entering the database credentials created earlier.
- Fill out additional details like site title, username, and password.
- Click ‘Install WordPress.’
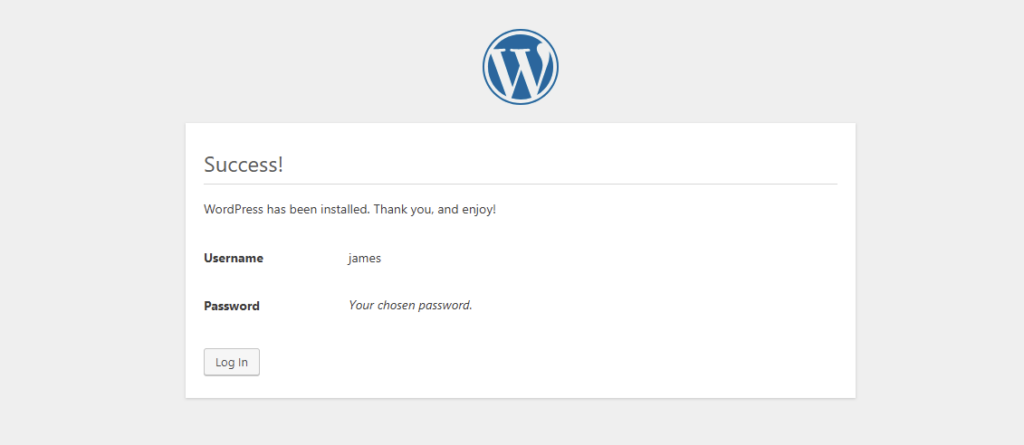
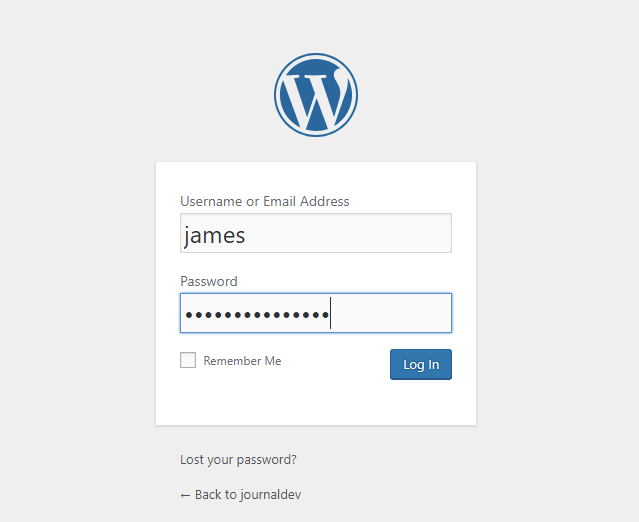
If everything is correct, you’ll receive a success notification. Click ‘Login’ to access your new WordPress dashboard.
Congratulations!
You’ve successfully installed WordPress. Now, explore the various features, plugins, and themes to set up your first blog or website.