Ubuntu Server is a variant of the standard Ubuntu, designed specifically for networks and services. It can function as a simple file server or operate within a massive 50,000-node cloud environment. Unlike Ubuntu Desktop, Ubuntu Server uses a text menu-based installation process instead of a graphical one.
Requirements
Before starting the installation, ensure the following:
- At least 2GB of free storage space.
- A DVD or USB flash drive with the Ubuntu Server version you want to install.
- A recent backup if you’re installing Ubuntu Server alongside existing data.
Boot from Install Media
To begin the installation:
- Insert the Ubuntu DVD into your DVD drive or the USB stick with the installation media.
- Restart your computer.
Most computers will boot from the USB or DVD automatically. If you don’t see the boot message and “Welcome” screen, set your computer to boot from the install media. There should be an on-screen message indicating which key to press for settings or boot menu (typically Escape, F2, F10, or F12). Restart your computer, hold down the key, and select the drive with the Ubuntu install media.
Choose Your Language
After boot messages appear, you’ll see a ‘Language’ menu. Use the Up, Down, and Enter keys to select your preferred language.
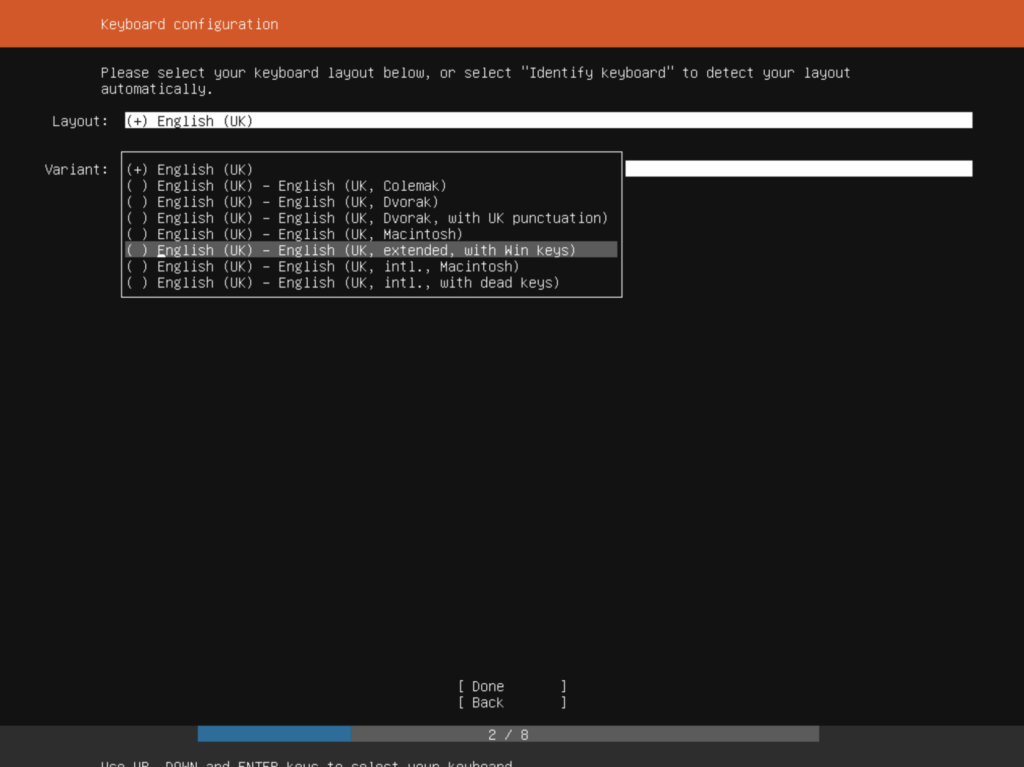
Choose the Correct Keyboard Layout
Next, select your keyboard layout. If you’re unsure, stick with the default; you can change it later if necessary.
Choose Your Install
You’ll see three options in the menu. This guide assumes you select the first option, “Install Ubuntu.” The other two options are for Metal As A Service (MAAS) installations, which require consulting MAAS documentation.
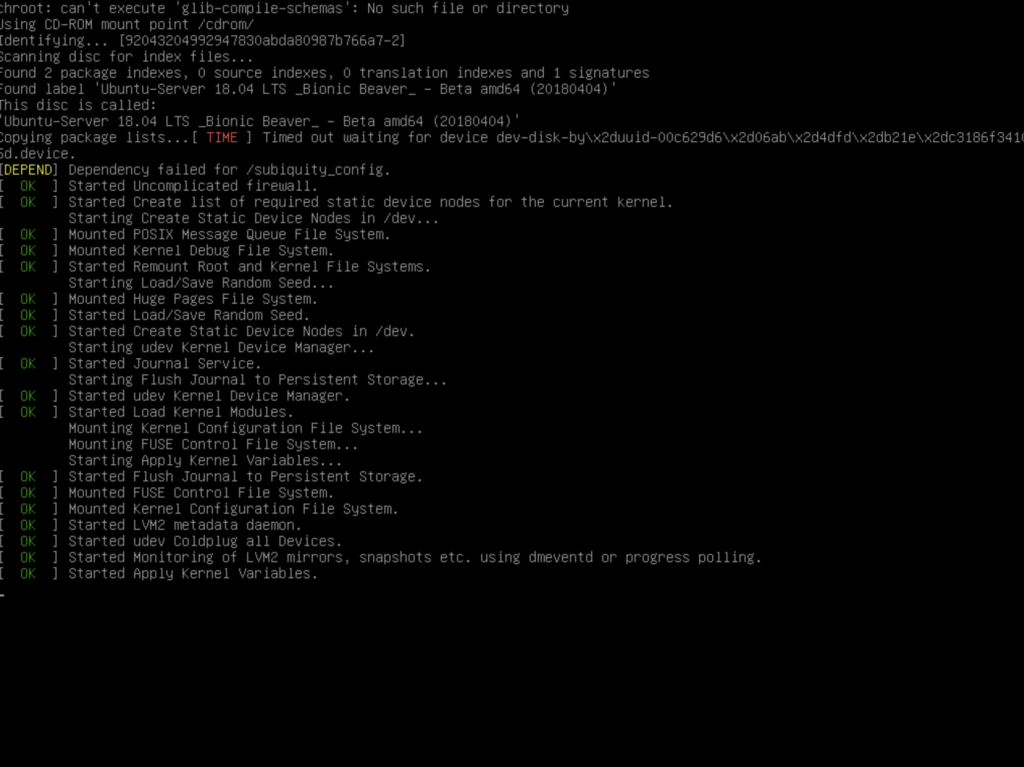
Networking
The installer will automatically detect and configure network connections via DHCP. This is usually automatic and informational only.
Configure Storage
Next, configure storage. The recommended setup is to dedicate an entire disk or partition for Ubuntu. For more complex setups, use the manual option to select and reorganize partitions.
Select a Device
Choose a disk from the detected drives using their system ID. Use the arrow keys and Enter to select the desired disk.
Confirm Partitions
The installer will calculate the partitions to create. If it’s not what you expected, use the arrow keys and Enter to select “Back” and choose a different drive.
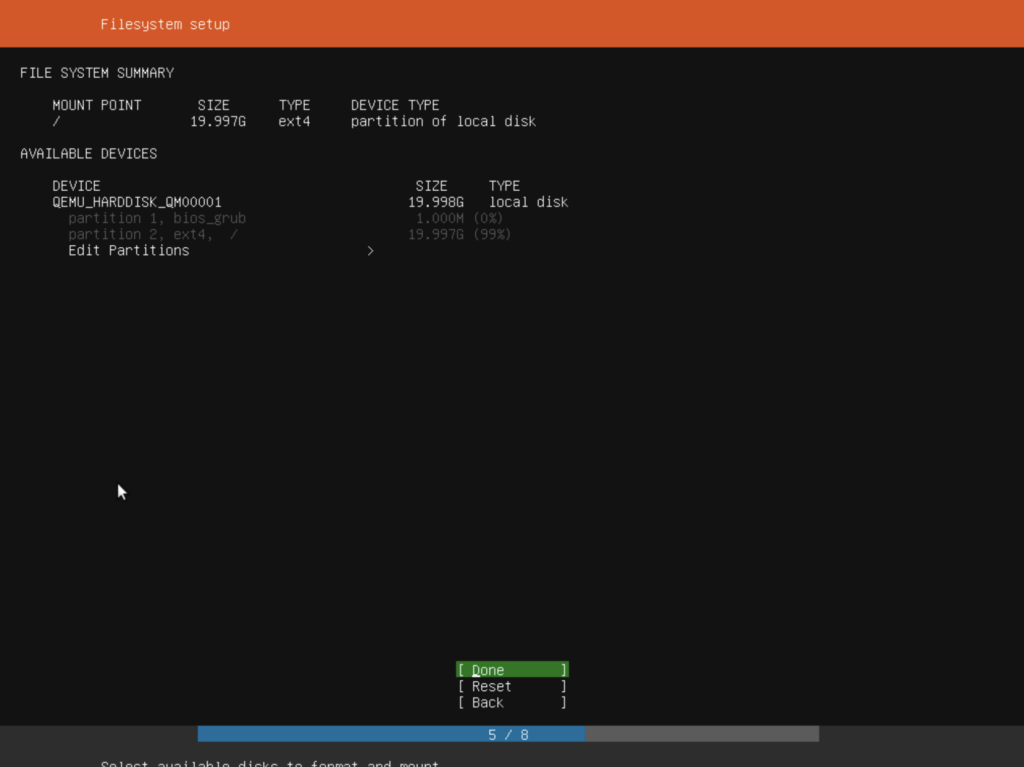
Confirm Changes
Before making any changes, review the final confirmation step. Double-check everything to avoid reformatting the wrong device. If needed, you can manually change partitions by selecting “Edit Partitions.” When satisfied with the disk layout, select “Done” to continue.
Set Up a Profile
The software installation begins, but additional information is needed. Set up at least one user with a password and a hostname. You can also import SSH keys from Launchpad, Ubuntu One, or GitHub by entering the username.
Install Software
After entering the required information, the installer will proceed. Ubuntu Server installs a concise set of essential software for servers. You can add more software after the installation.
Installation Complete
Remove the install media, then press Enter to reboot and start the server. Welcome to Ubuntu!
Finding Help
The Ubuntu community, for both desktop and server, is large and friendly. If you encounter issues, someone has likely already solved the same problem.